Welcome to Adventure Time, a jacked-up Rogue-like game where you explore levels of a dark and twisting dungeon. You will fight the ever more terrifying monsters of the deep, and you will ultimately face the Great Wyrm Red Dragon, Blazefang Cinderwing.
To face these challenges, you are seeking ever-more powerful loot: Armor, weapons, jewelry and spell books. You will find higher and higher quality gems, which can, via sockets, be used to augment the power of everything you wear.
As you explore, you will find puzzle pieces. if you collect all the pieces for a particular puzzle, they will magically interlock and once activated, will open a portal to a boss fight! Also sometimes you will find minimalist looking dungeon levels that end in a boss fight too.
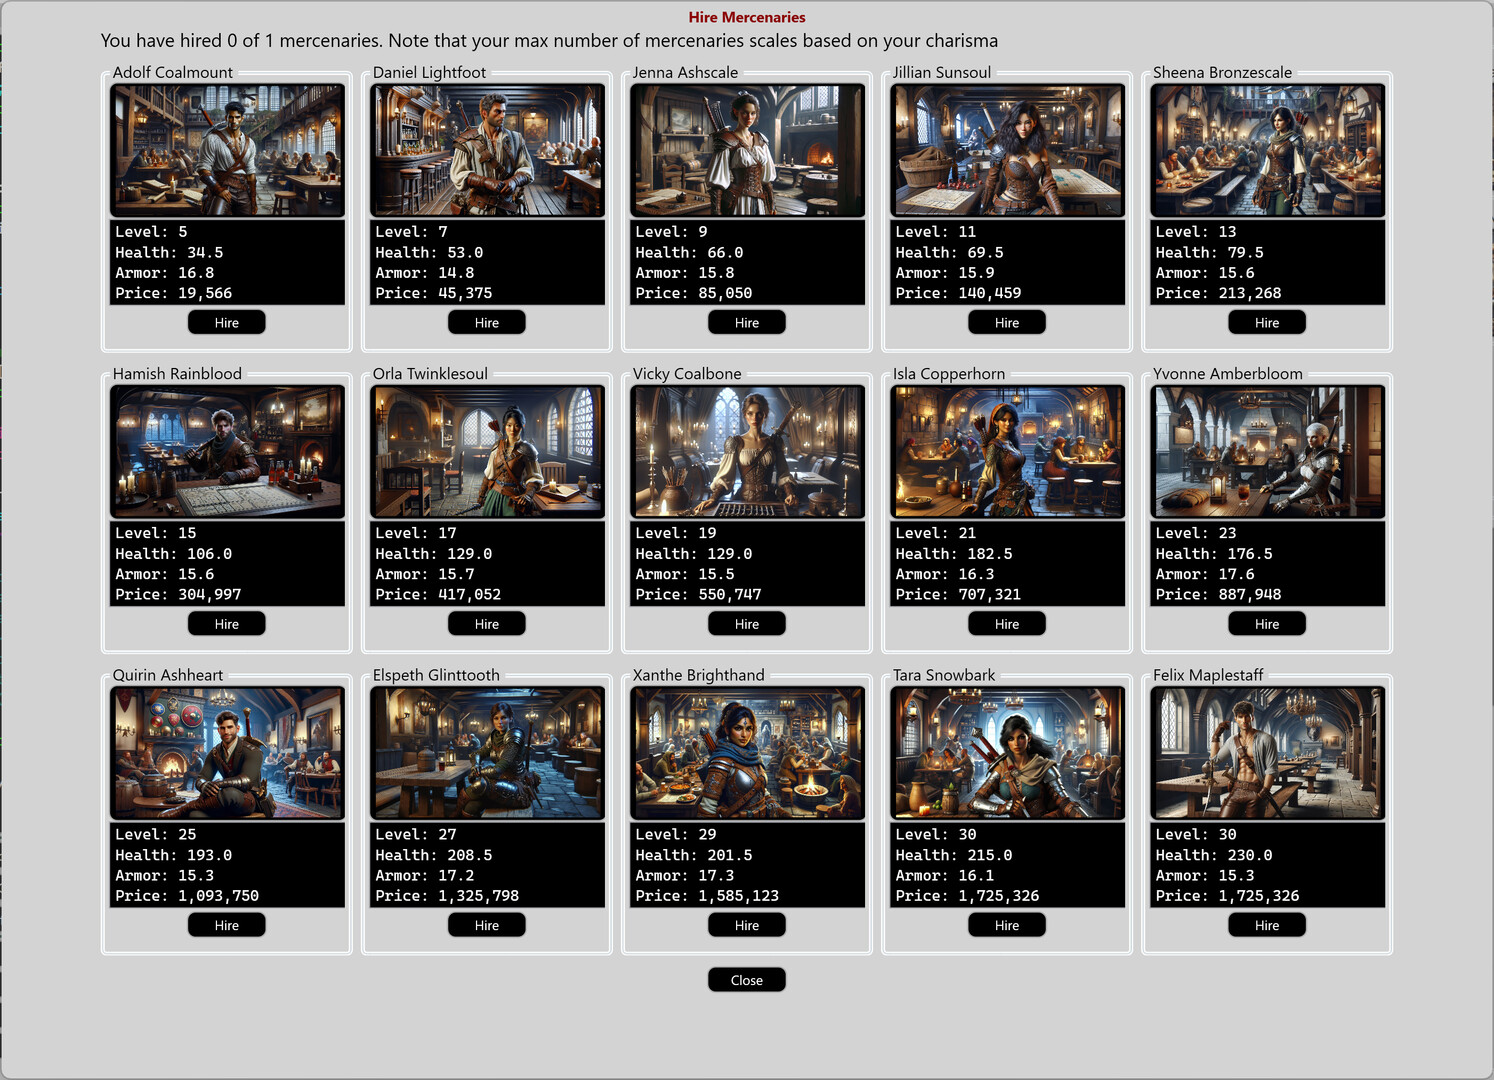
When you need a respite from battle, you can teleport to town, where there are a variety of NPCs to help you, from selling and buying gear, resting, healing, hiring mercenaries to aid you your battle.
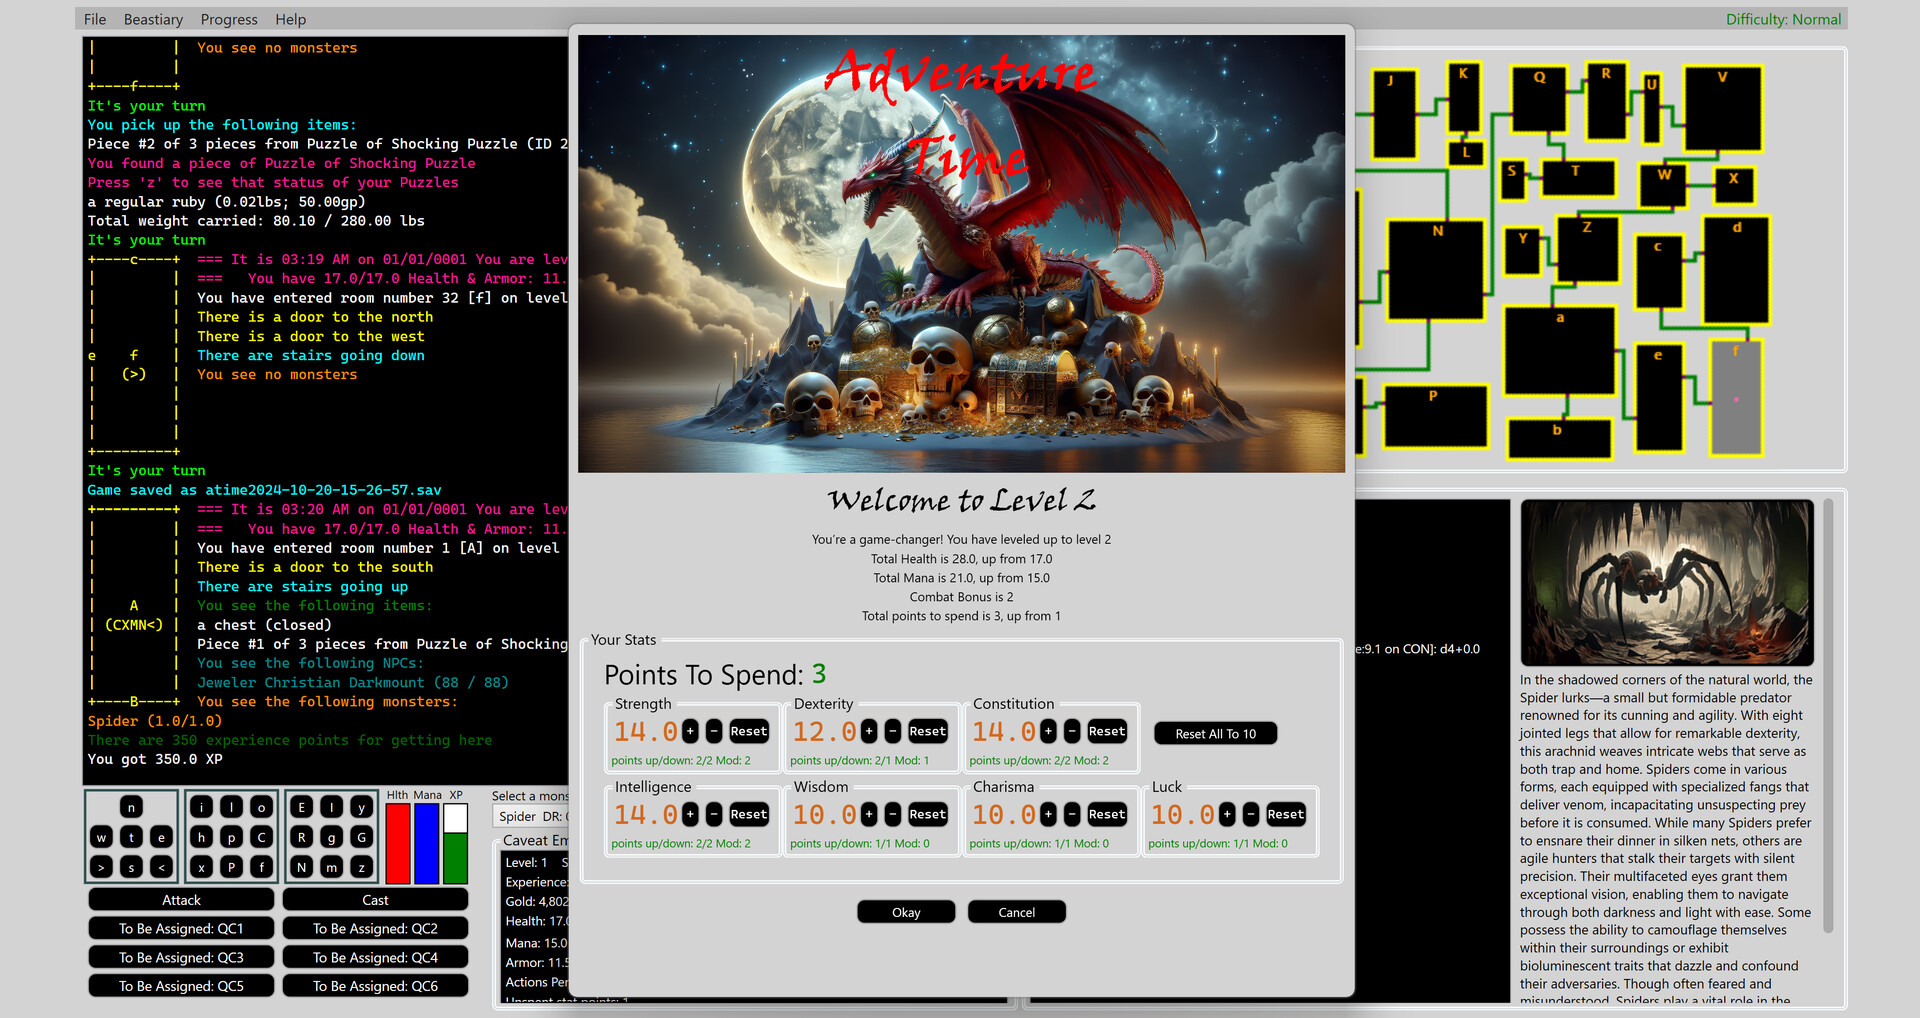
As you collect experience and level up, not only will you get more health and mana, but you will gain a combat bonus, get points you can spend on increasing your stats, and even get multiple attacks per turn. The game is a balance between survivability (health), which constitution will help with, combat (strength and dexterity), and spell casting (mana), which intelligence helps with. You might want to spend some points on luck, as this causes improved drops from chests and monsters; wisdom, which helps with some saving throws, and charisma, which increases the number of mercenaries you can hire.
The game is turn based, with a mixture of text and lots of high-quality images. It's pretty look at, yet still maintains the feel of a dungeon crawler like Rogue or Nethack.
There are two modes of play: Regular (dying has a penalty but death is not permanent) and Hardcore (you die, you are done!). Regular is a good way to come up to speed on the game without the fear of losing your progress, and Hardcore is the way to go if you want the more realistic Rogue-Like experience. Regular has a range of difficulties, from Easy to Impossible.
A note about all the numbers used in the game: a lot of players are used to integer values, so by default everything is shown in rounded up integers (e.g. Health of 9.7 appears as 10; Damage of 3.2 appears as 4). But the game operates in fractional values, to sometimes you will see what appears to be strange results, like a monster with 10 health that doesn’t die when the game shows you have done 10 damage. This would be because internally the monster may have had 9.8 health and the damage was 9.3 health, leaving the monster with 0.5 health – which would show as 1 health! If you don’t mind seeing fractional numbers, you can go into the menu under File->Settings, and select “Show decimals”
Getting Started

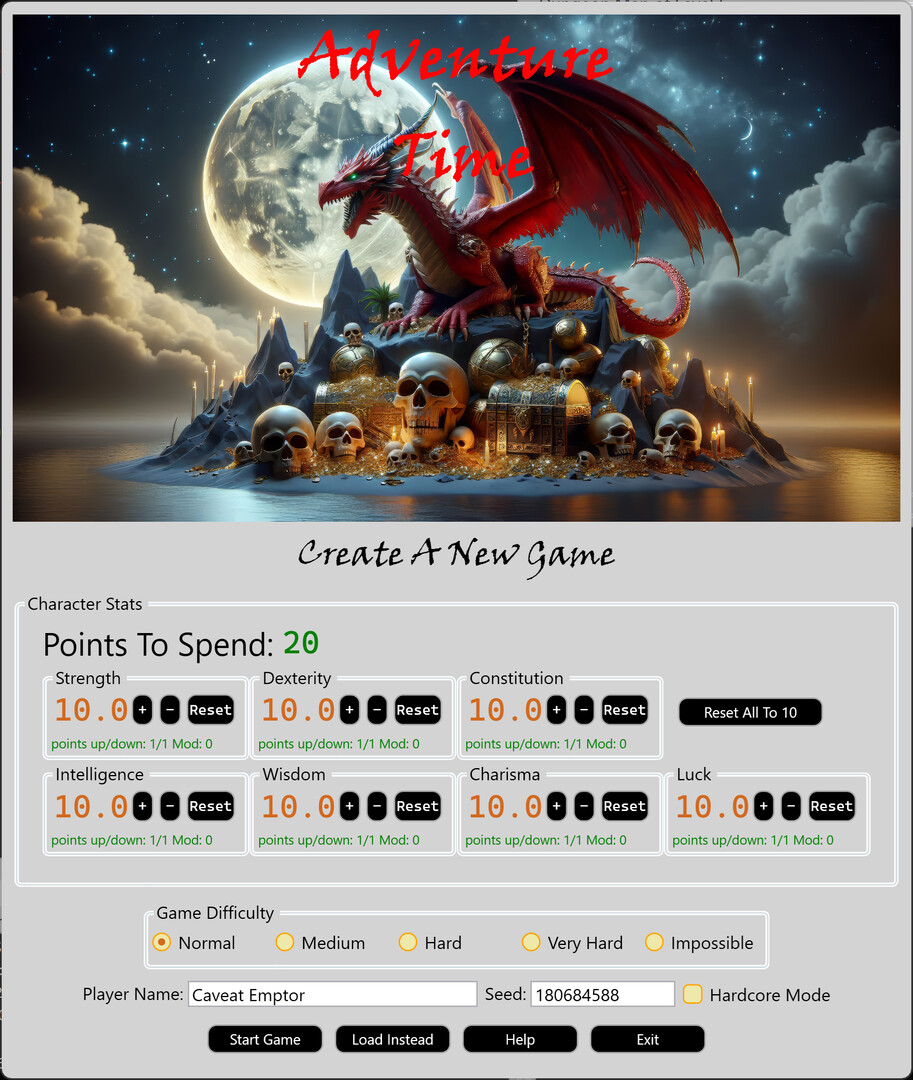
When you first launch the game, you will be presented with a screen that lets you choose your player's race, class & name, and spend points on your player's stats (see the “Stats” section below for detailed explanation on what the various stats are useful for). You can choose the game difficulty, plus select if the game is hardcore or not (in hardcore mode, if you die, the game ends). You can also input a game seed, which is great if you want to repeat the same dungeon from scratch. (To locate the game seed later, look in the About dialog under the Help menu.
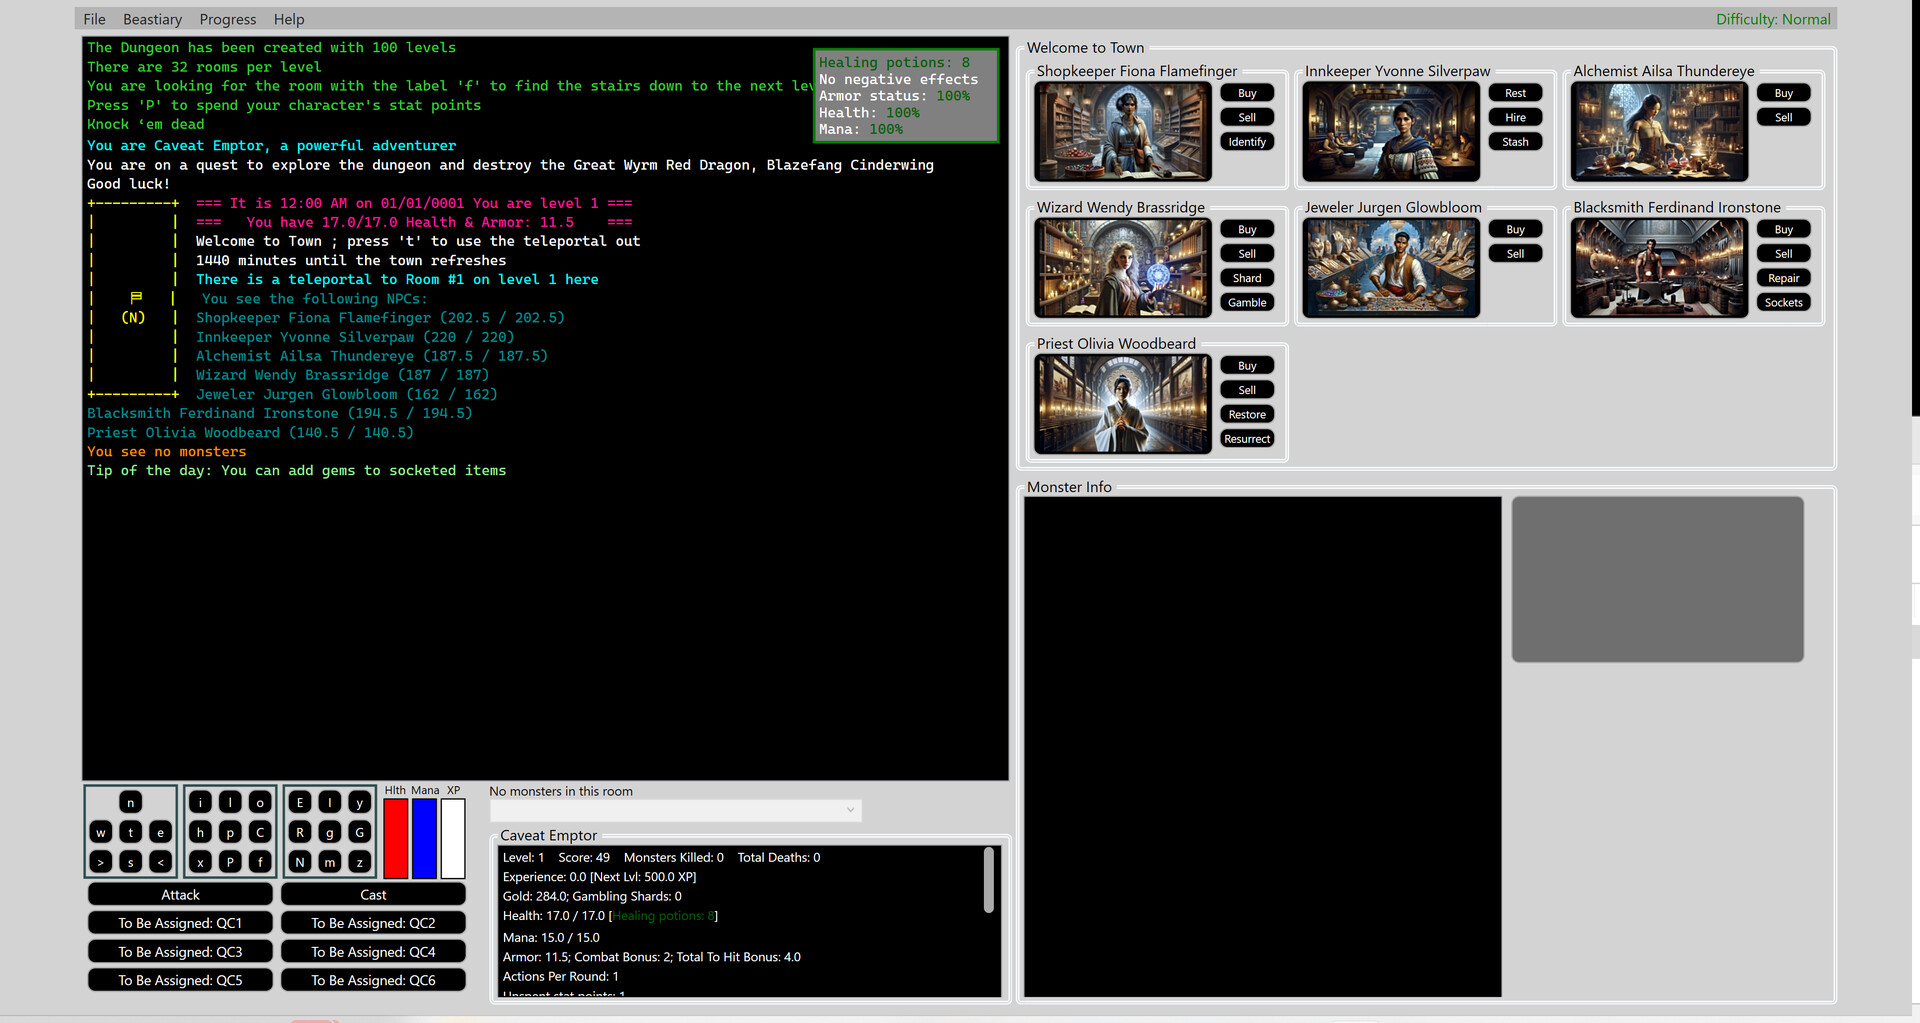
Once you have made your various choices, you will start in town with some basic armor, a sword, a couple of spells, a little gold and a few healing potions and keys. In town you will see different non-player characters (NPCs) you can interact with to buy and sell items and take a variety of other actions described in the NPC section later below.
Once you are ready, you can teleport to the dungeon (‘t’) and then the fun begins! Some basic keyboard commands you will want to know (or buttons using the mouse if you prefer):
‘w’,’s’,’a’,d’ [WSAD] (or 'n','s','w','e' [NSEW], you can change this in settings) will navigate the dungeon going north, south, west, east. On each level, you will find a room with a set of stairs down to the next level. ">" will descend the stairs, and " so keep an eye on your health, and keep a well-stocked supply of healing potions that you can buy from any Priest.
‘M’ will drink a mana potion. You can buy them from any Wizard.
'E' will let you manage your equipment (armor, weapons, jewelry), switching it out for better loot as you go, and adding/removing gems from your gear
't' will teleport you to town, where you can sell any loot you don’t need to an NPC, along with spend your gold on a variety of loot and help
'?' will show help for all commands
For a full list of commands, see the "Commands" section below.
Keys are an essential resource in the game, as they open chests (most are locked) and unlock doors to certain boss fights. Keys are fragile and break easily, but as you increase your Dexterity and Luck, you will find yourself able to up the odds that a key won’t break.
As you descend into the dungeon, you will find more and more powerful loot, but the difficulty of the monsters you encounter goes up. There are over 650 kinds of monsters in the dungeons, with a wide range of abilities so read the "Monster Info" section carefully each time you encounter a new monster.
Your score is a combination of factors, including negative factors like how many times you died, how many trips to town you have taken. Positive factors include experience you have gained, monsters you have killed, how many spells you cast, and the value of all your gold and treasure.
Main Screen Areas
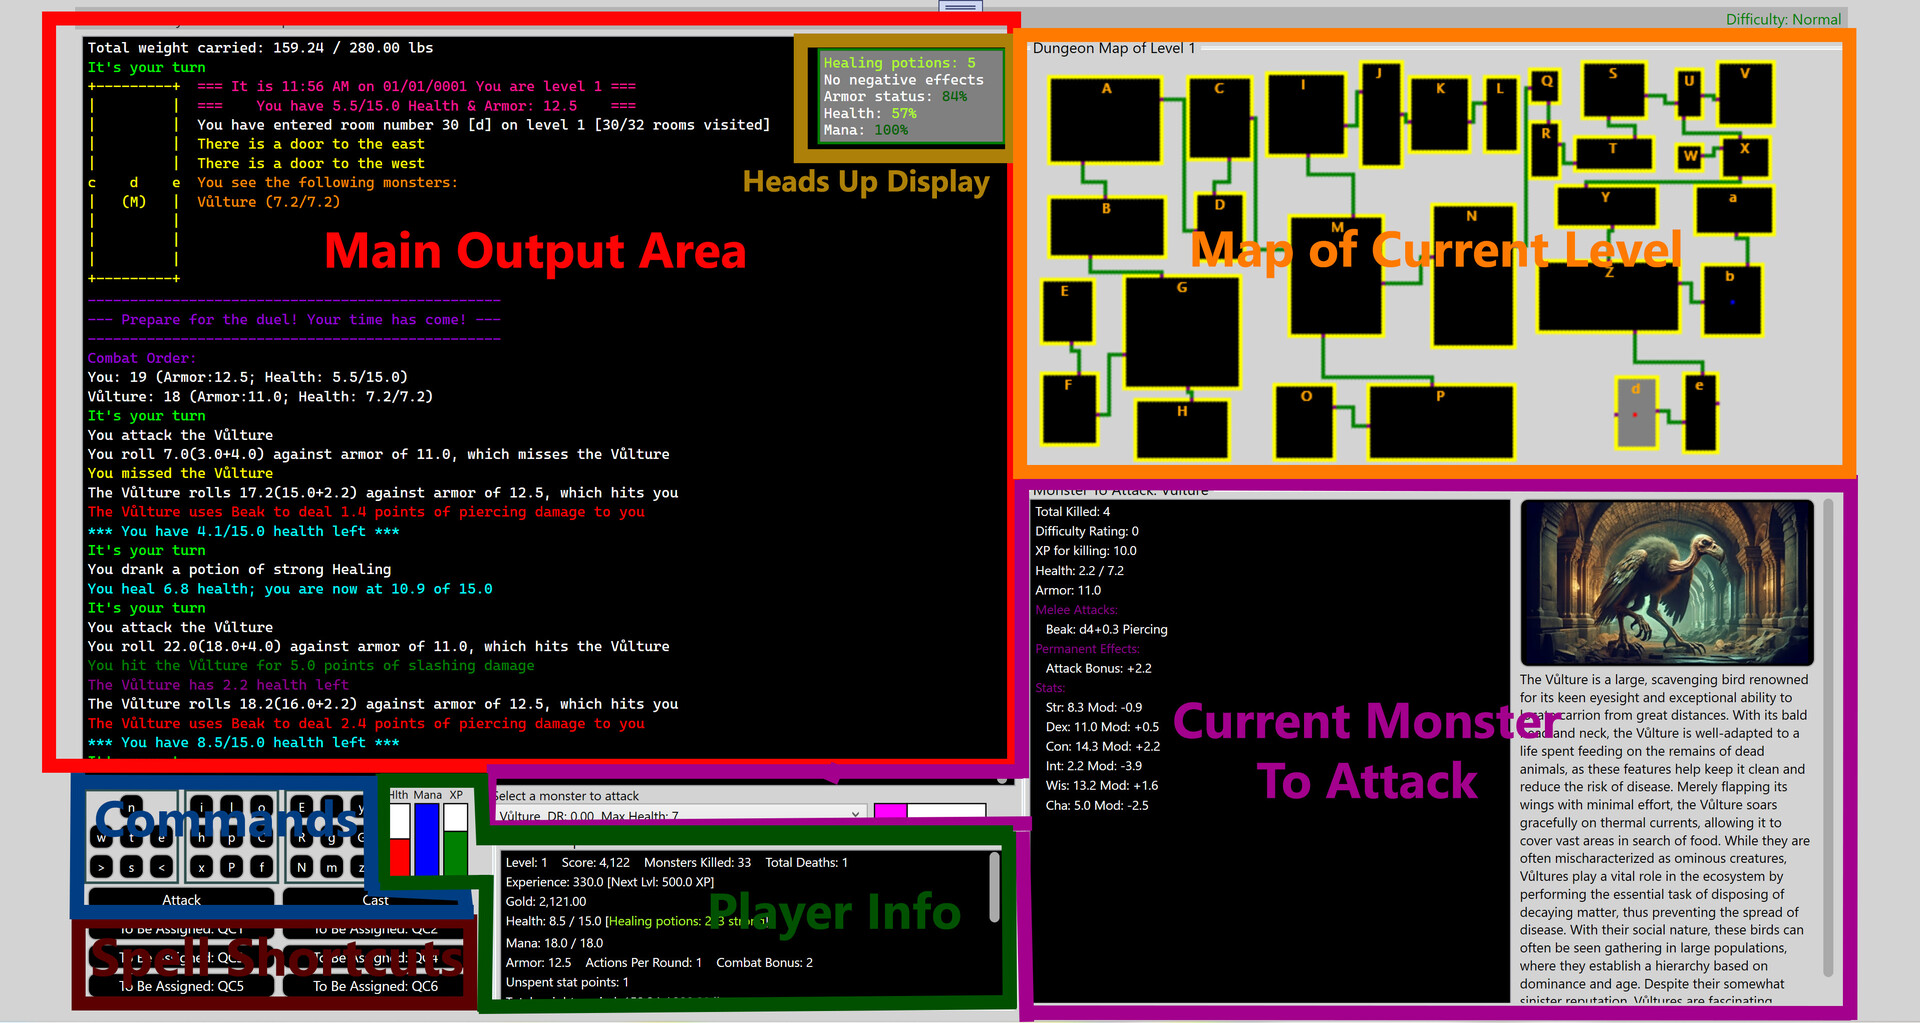
 The screen is divided into in six major areas:
Main Output Area: everything that happens in the game is displayed here
Map of Current Level: a basic graphic map that shows everything explored on the current area
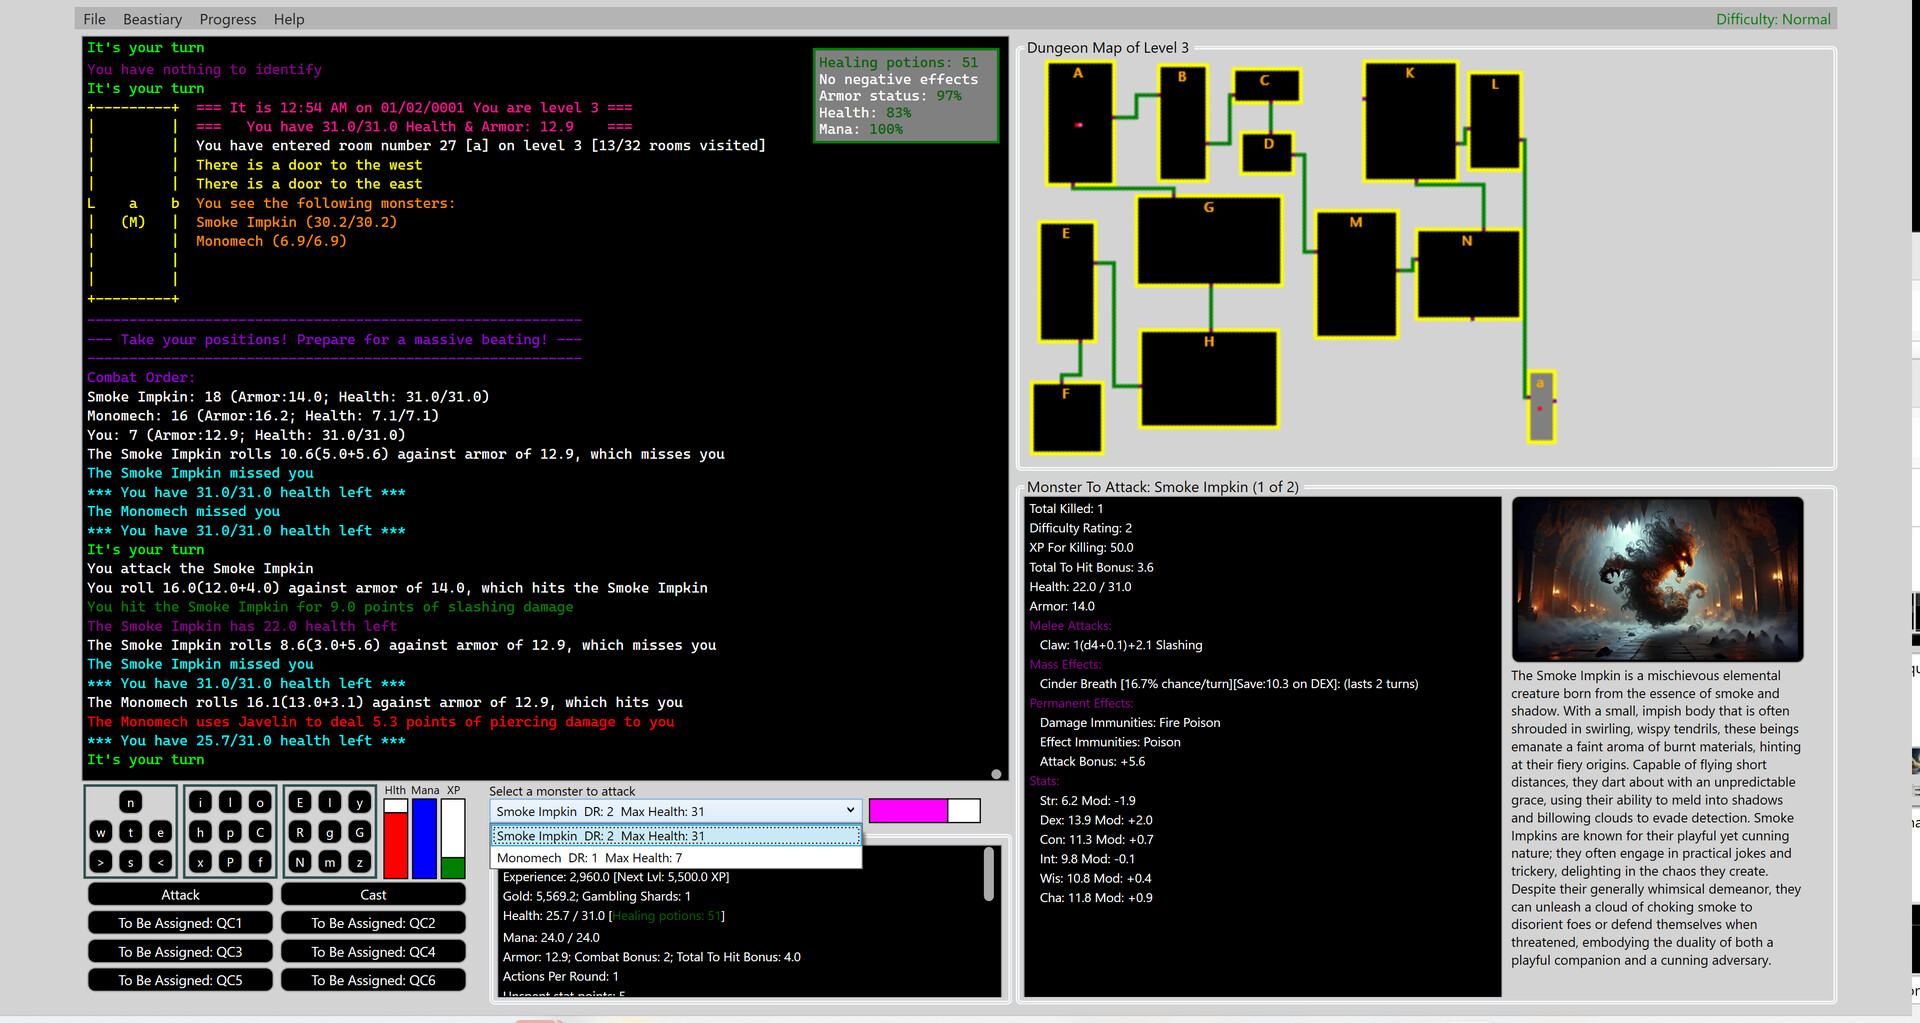
Current Monster To Attack: shows all the information about the currently selected monster for attacking. If there is more than one monster in the room, you can use the dropdown to the left under “Select a monster to attack” to pick the monster you want to be the default you are attacking.
Player Info: all the info about your character, along with 3 bars that show current health, current mana, and progress towards the next level.
Spell Shortcuts: these are “quick cast” buttons (with corresponding function keys) that will cast a learned spell at a specified power level. See the spells section for more details
Commands: everything you can do in the game has a button you can click. As well, there is a keyboard equivalent for every command.
There is also a heads-up display over top of the Main Output Area, which shows some basic info about your character plus the health of your NPCs. The heads-up display can be enabled/disabled from the settings menu.
Using The Map
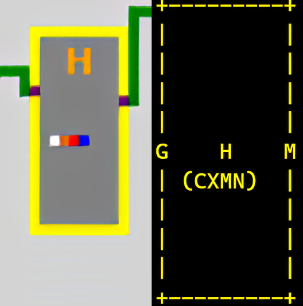
As you explore the dungeon, you will see the rooms revealed in a graphical map in the upper right of the game. Also, each room will be displayed in the character display on the left.
The character mode map shows you the room you are in, and on the right, left, top and bottom walls there will be a letter that indicates what room (if any) connects to that wall. In the center of the room, you will see a letter that indicates the ID of the room you are in. Underneath that letter, there will be letters in parentheses. These letters indicate major things in the room. Similarly, each graphical room will have a letter that indicates the room, plus colored blocks that indicate the major things in the room. These things are (the colors are shown in the graphical map only)
C; White Block: an un-opened chest
c; Pale Pink Block: an opened chest
X; Orange Block: items that haven t been picked up
M; Red Block: one or more monsters
N; Blue Block: one or more NPCs
; Bright Pink/Dark Orange Block: stairs up/stairs down
Only found on the graphical map:
Room borders are yellow. Except for rooms with stairs; these borders are the color of the stairs block
Unlocked doors are indicated with a purple block, locked doors have a pale blue block
Corridors are green
Stairs up are bright pink, stairs down are orange
The room you are in has a gray background, and every other room has a black background
Monsters
There are over 650 monsters, ranging from a difficulty rating of 0 all the way to greater than 35. The higher the level of the monster, not only do they do more damage, but they get more and more powerful special abilities. Beware sometimes monsters travel in packs!!
Combat

Combat is the heart of the game! Whenever you discover a monster in the dungeon, the game determines the combat order part based on chance, part based on item bonus and stat bonuses. The above dialog is optional and can be removed by selecting “Don’t show this again”.
There fundamentals of combat are:
‘e’ – attacks the selected monster. If there is more than one monster, you can pick the creature you wish to attack from the dropdown. ('a' is the key if you are use nswe instead of wsad)
‘h’ – drinks a healing potion. This takes no turns, so use as often as you need. It is your key to survival, so don’t run out!
‘c’ – pick a spell from your master spellbook. You can also assign your frequently used spells to one of the 6 quick cast buttons (activated on the keyboard via F1 to F6).
‘p’ – drink a potion from your inventory
‘y’ – cast a spell from a scroll in your inventory
You can also leave combat by fleeing the room, but the monster gets a bonus attack, plus the room you are fleeing to may not be empty, even though you cleared it out before!
You cannot leave combat via teleport, you can only bravely run away!
NPCs
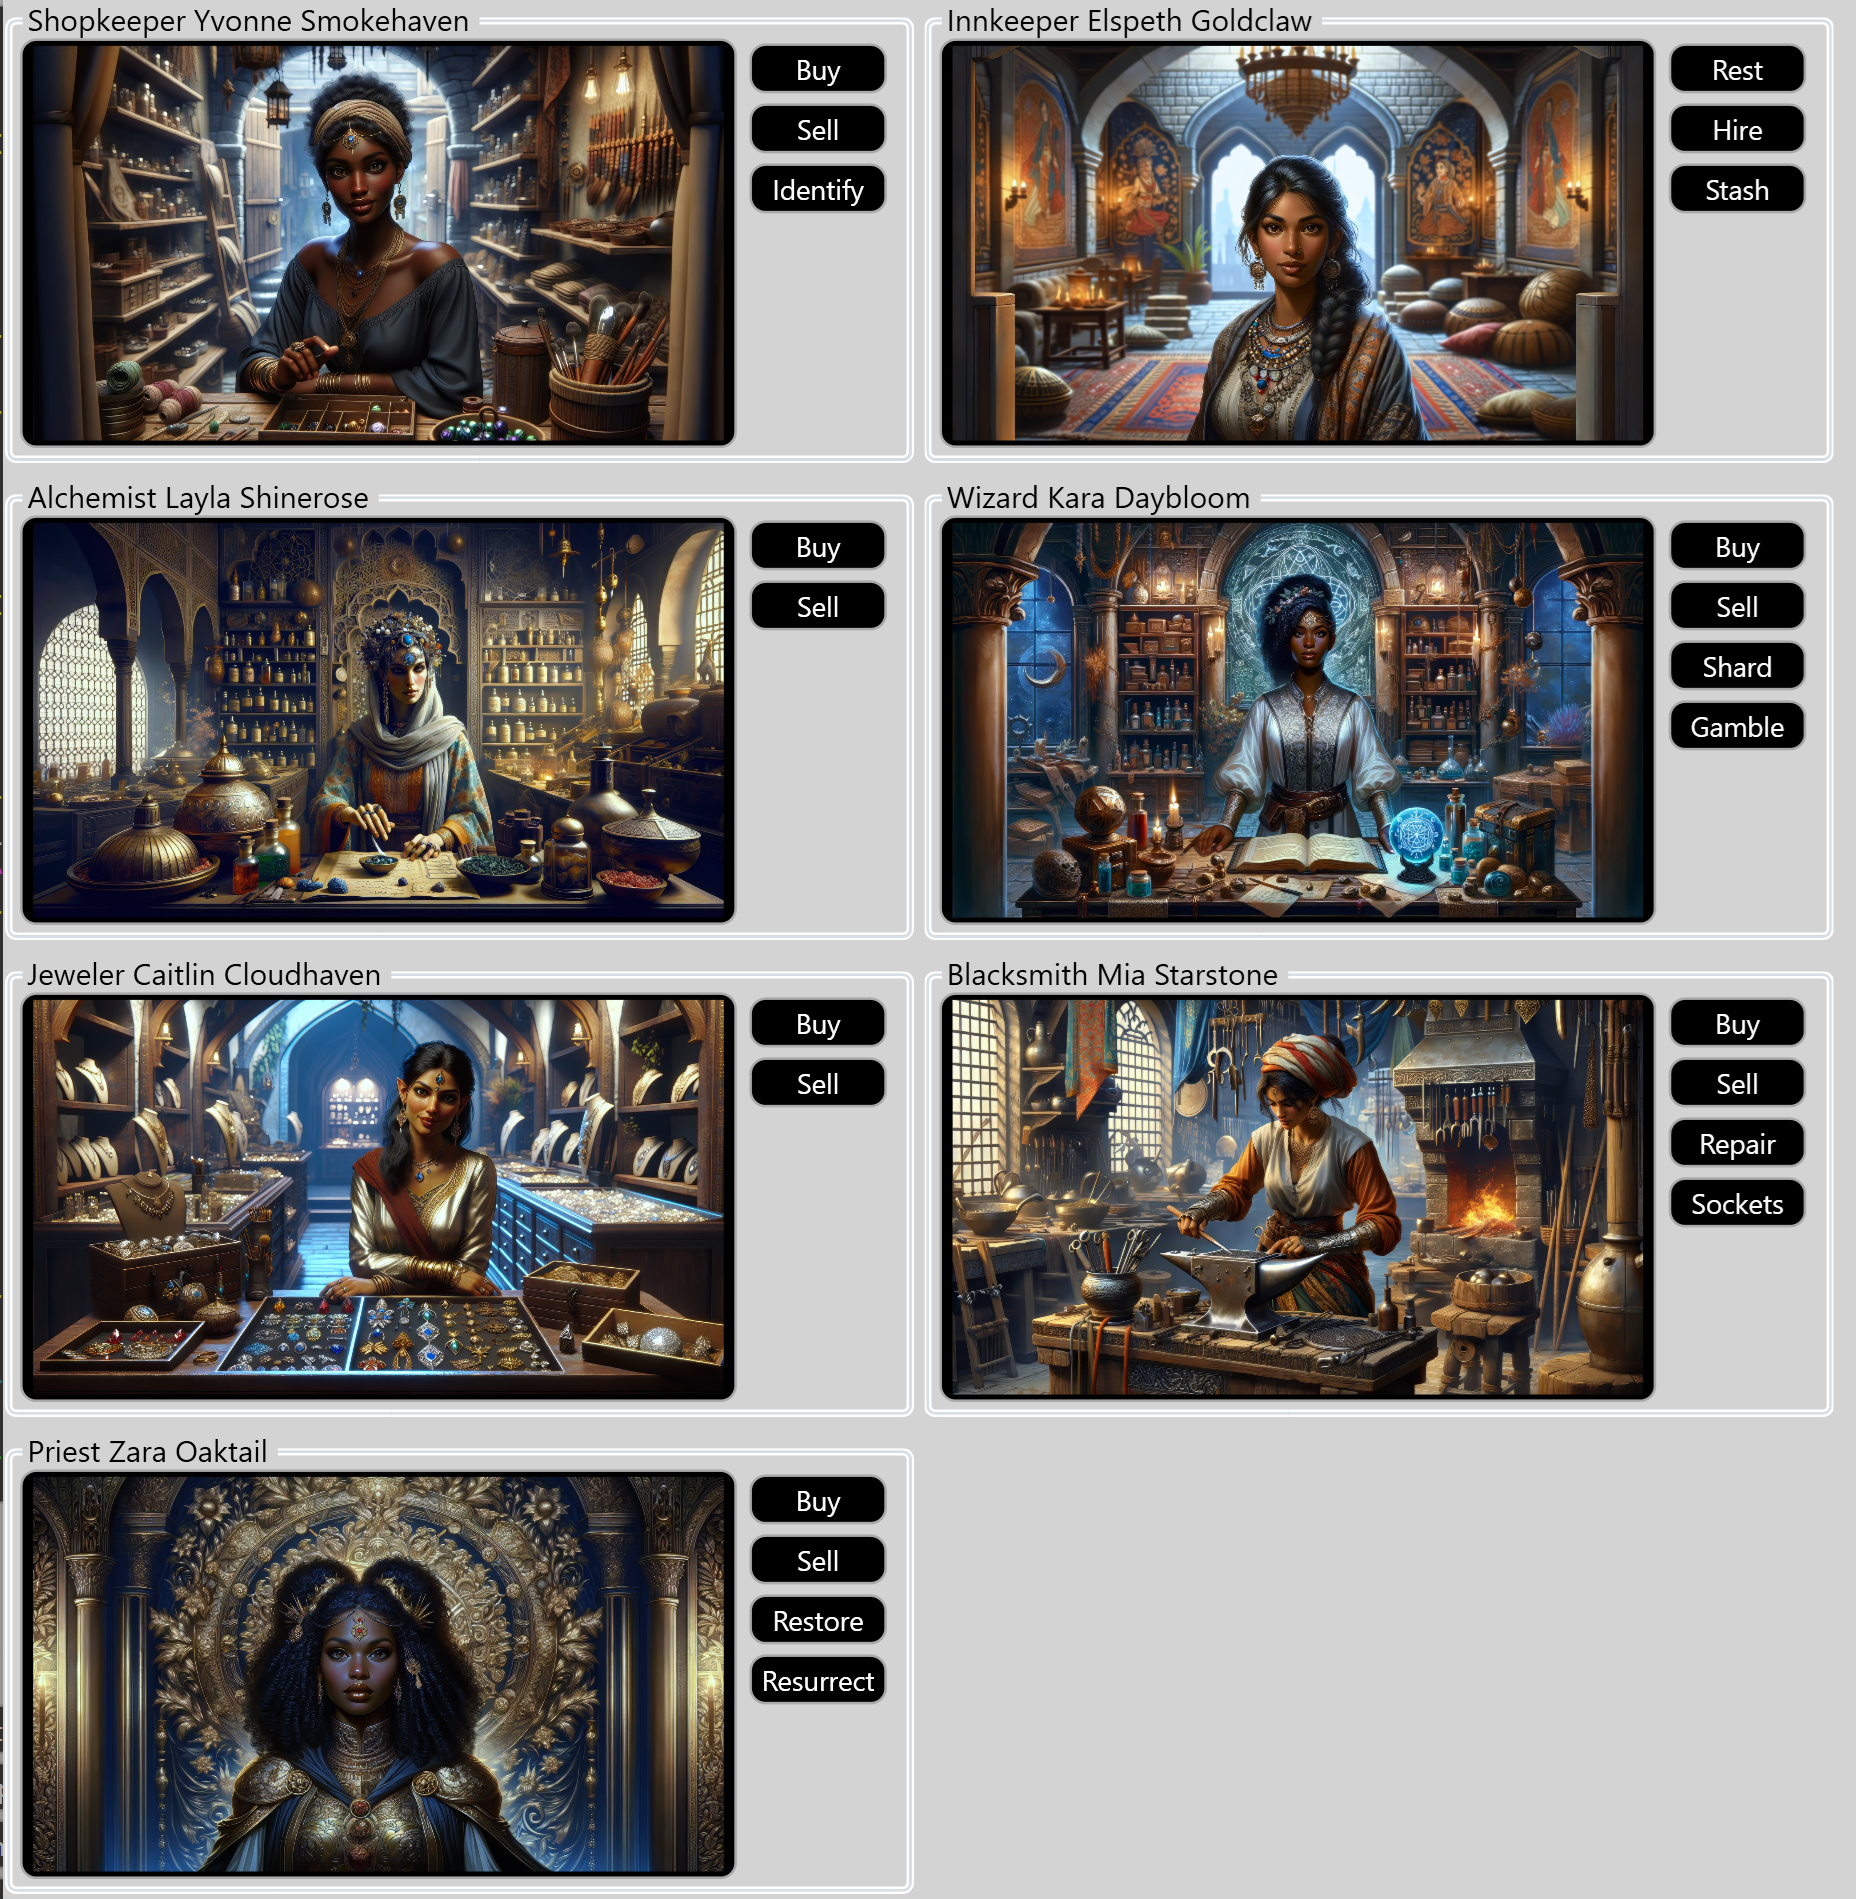
There are seven types of non-player characters (NPCs) you can encounter in the dungeon. In addition, all seven can be found in Town. Every NPC but the Innkeeper can buy items from you and will sell you items associated with their specialty, along with certain other special capabilities:
Alchemist: sells potions
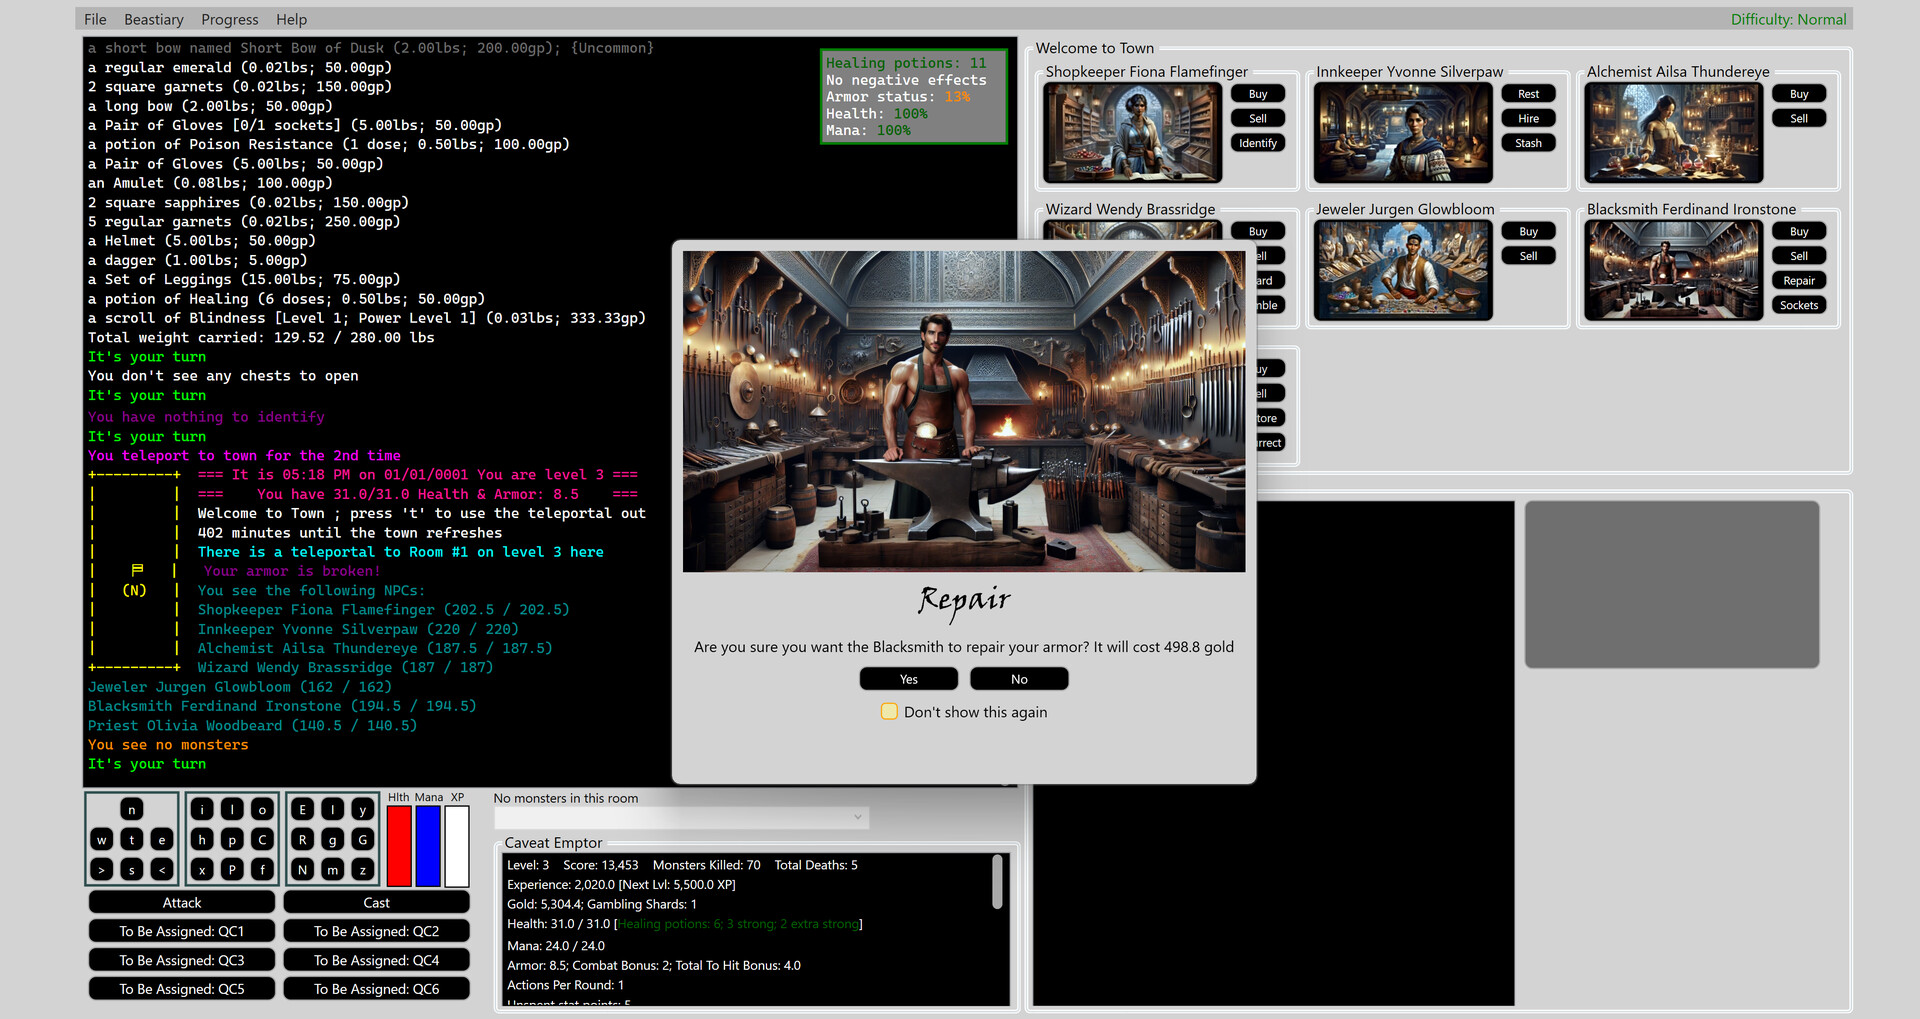
Blacksmith: sells weapons and armor; can repair your equipped armor; can add sockets to armor, weapons, rings and amulets (repairing and adding sockets costs gold)
Innkeeper: lets you safely rest for 8 hours; hire mercenaries; access your private stash
Jeweler: sells amulets and rings; sells gemstones for equipping in sockets
Shopkeeper: sells a wide variety of items
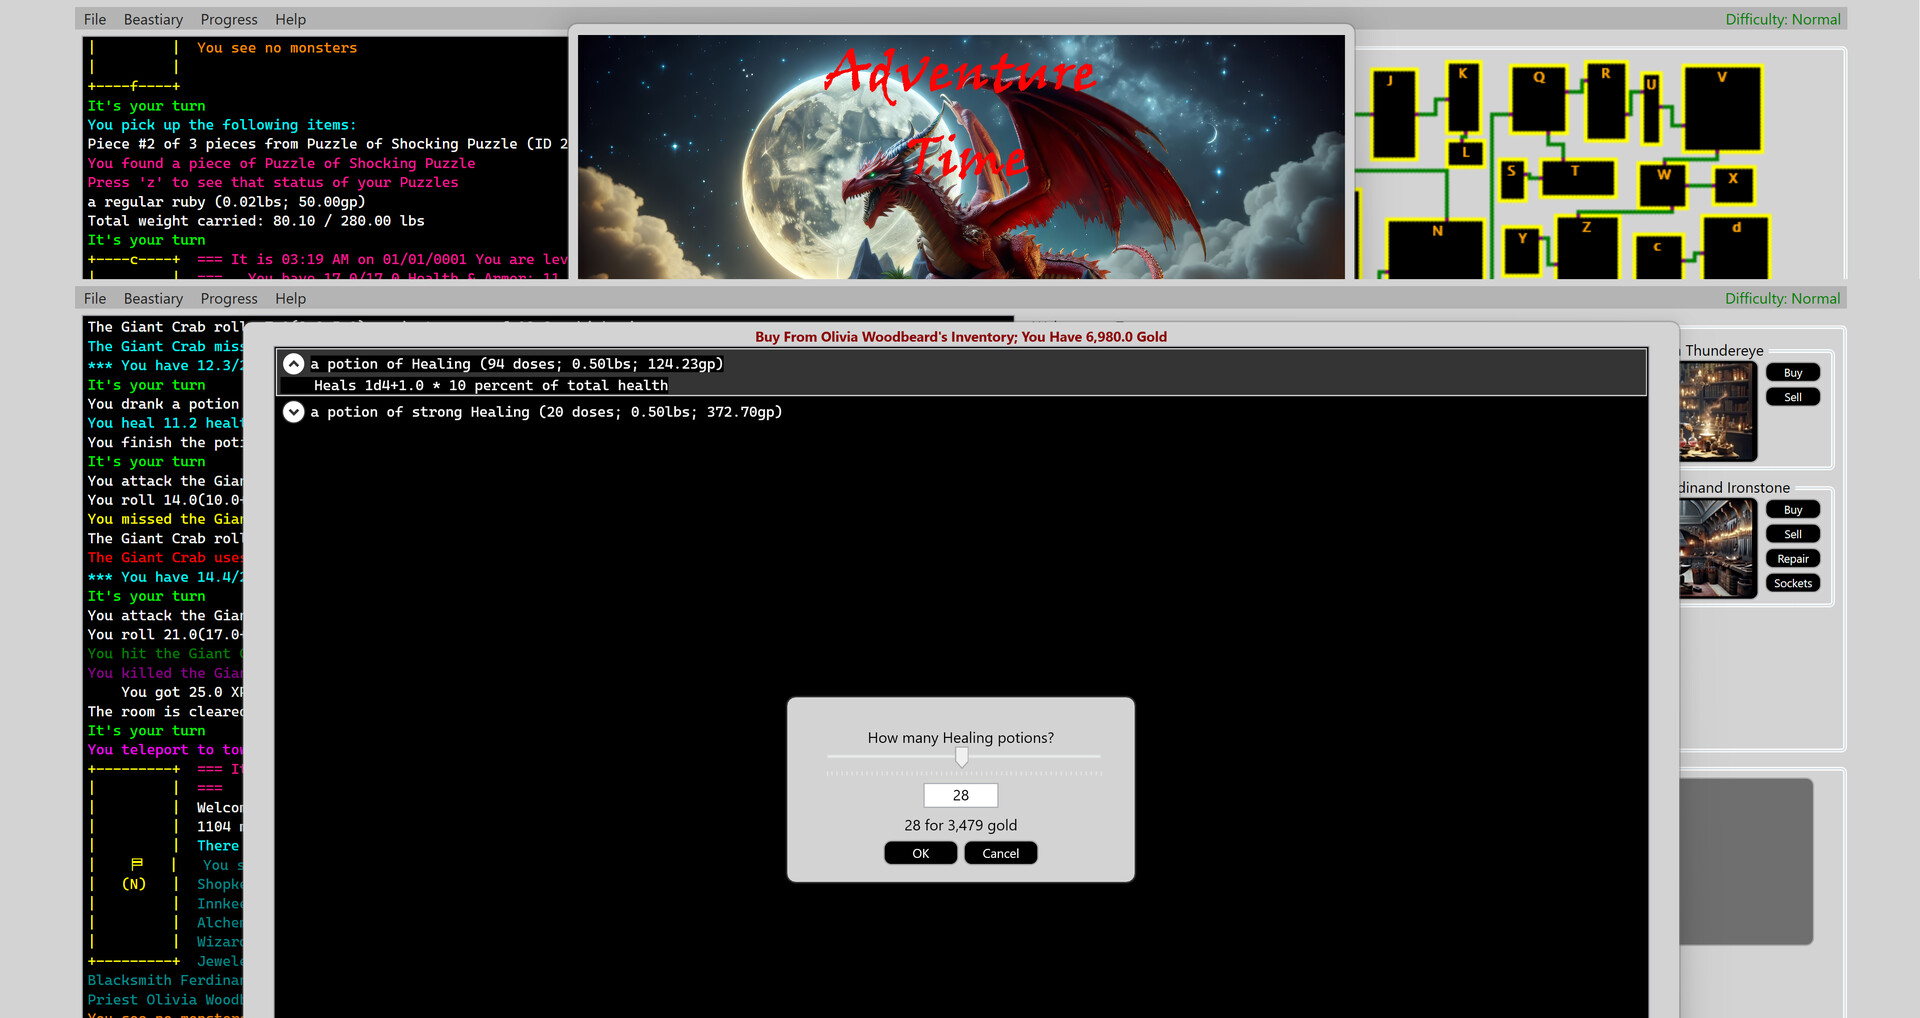
Priest: sells healing potions; can resurrect dead mercenaries, can cast "Restore" which brings you and your hired mercenaries health and mana to full, and removes any negative effects (note that restore and resurrect cost gold)
Wizard: sells scrolls and spell books. They also can convert your loot into magic shards, which can be gambled to win even more powerful loot!
The NPCs in town have their inventory refreshed every 24 hours, so come back often to see what is for sale.
Mercenaries

You can hire mercenaries at any Inn. The number you can hire is determined by your Charisma; the higher your Charisma, the more mercenaries will follow you.
Once hired, mercenaries will become part of combat, attacking the monsters as well as drawing their attacks (monsters attack any mercenary or you with equal probability). Mercenaries earn experience and can level up, just like a player. They can also die, so keep them well stocked with healing potions. If they die, a Priest can resurrect them (for a donation of course!), as can casting a resurrect spell.
Using 'm', you can manage your mercenaries, both their equipped items and their stat points. Also, you can release a mercenary from your services so you can hire another.
Gems
There are seven types of gems, they are diamonds, emeralds, garnets, opals, pearls, rubies, and sapphires. Each gem, once socketed, provides a magical bonus described below. Also, each gem has wide range of qualities, the higher the quality, the more powerful the gem: Regular, Square, Flawless Square, Star, Flawless Star, Radiant, Flawless Radiant, Princess, Flawless Princess, Royal, Flawless Royal, Empress, Flawless Empress, Starforged, Flawless Starforged, Godforged, Flawless Godforged
Gems inserted into an amulet, a helmet, or a ring:
Diamond: adds experience % bonus
Emerald: adds healing % bonus
Garnet: adds armor bonus
Opal: adds health bonus
Pearl: adds health on kill bonus
Ruby: adds health % bonus
Sapphire: adds armor % bonus1
Topaz: adds mana % bonus
Gems inserted into armor: belt, boots, chest plate, gloves, and leggings
Diamond: increases Luck
Emerald: increases Constitution
Garnet: increases Charisma
Opal: increases Wisdom
Pearl: increases Intelligence
Ruby: increases Strength
Sapphire: increases Dexterity
Topaz: increases Mana
Gems inserted into any weapon:
Diamond: adds critical damage % bonus
Emerald: adds experience bonus
Garnet: adds attack bonus
Opal: adds damage bonus
Pearl: adds attack % bonus
Ruby: adds critical hit % bonus
Sapphire: adds damage % bonus
Topaz: adds experience % bonus
Loot
There are a wide variety of items you will find. For example: weapons like swords and daggers, armor like helmets and chestplates, rings, amulets, gems, spellbooks, potions, scrolls, keys to chests, puzzle pieces, and gold.
For armor, weapons, rings and amulets, they can both have sockets (for inserting gems) and they are of can have varying amounts of magical power imbued into them. This amounts of magical power range from the least powerful (common, no magic at all) to the most powerful (Godforged). In order of power, the types of items are: Common, Uncommon, Very Uncommon, Unusual, Very Unusual, Rare, Very Rare, Ultra Rare, Exceptional, Quite Exceptional, Exquisite, Quite Exquisite, Legendary, Artifact, Ancient Artifact, Mythical Godforged
As items become more powerful, not only do the individual abilities they have increase, but the number of individual abilities per item increases. The abilities that can be enchanted into an item are:
bonus damage dice, of damage types: Acid, Cold, Fire, Force, Lightning, Necrotic, Psychic, Radiant, Thunder.
damage resistance against a specific damage type
adds initiative bonus
adds experience % bonus
adds healing % bonus
adds armor bonus
adds health bonus
adds health on kill bonus
adds health % bonus
adds armor % bonus
adds critical damage % bonus
adds experience per kill bonus
adds attack bonus
adds damage bonus
adds attack % bonus
adds critical hit % bonus
adds damage % bonus
increases Luck
increases Constitution
increases Charisma
increases Wisdom
increases Intelligence
increases Strength
increases Dexterity
Stats
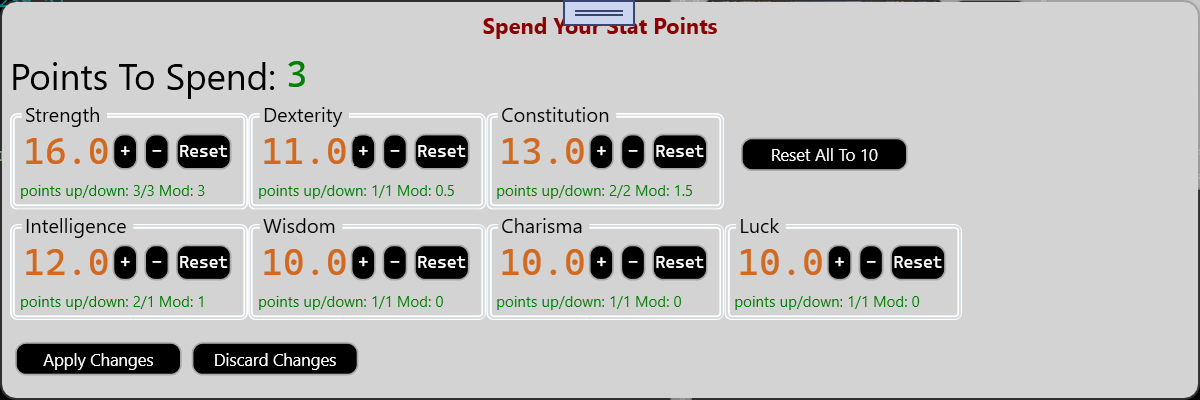
There are seven stats your character has; each stat plays an important role. For example, to save against a magical attack, the higher the related stat is, the more likely you save.
Stats start at 1 (very bad) and have no upper limit, although the higher the stat you are trying to increase, the more stat points you need to spend. Stat points are given out every time you level up.
The primary purpose (aside from successfully saving against a magical attack) of each stat:
Charisma: adjust the number of mercenaries you can hire
Constitution: adjusts health points every time you level up
Dexterity: adjusts your armor; adjusts success rate and damage of ranged weapons like a bow or crossbow; adjusts the odds of a key not breaking after opening a chest
Intelligence: adjusts the success rate of a spell; and adjusts mana points every time you level up
Luck: adjusts the odds of getting extra loot from a chest or a monster; adjusts the odds of a key not breaking after opening a chest
Strength: adjusts the success rate and damage from a hand-held weapon like a sword or a spear
Puzzles

As you explore the dungeon, you will find pieces to magical puzzles. These pieces, once fully assembled, will give you the ability to open a teleportal to a boss fight. Note that there can only be one teleportal in a room.
Once you activate the puzzle, you will go immediately to the fight and won’t be able to leave until you die or defeat the boss. There will be permanent portal from the room where you activated the puzzle and the boss fight room in case you need to go back to continue the fight or pick up loot.
Finally, note that the deeper you go, the more powerful the bosses you will find.
Spells
Spells range from level 0 to level 9, and have an escalating mana cost per level of the spell. In addition, large majority of the spells can have their strength and effectiveness increased by spending more mana. This is called the power level of the spell, and your ability to use higher power levels depend on your own level and what the spell itself allows.
You obtain spells by finding and transferring spell books to your master spellbook (capital ‘C’ to transfer all the books in your inventory). You find higher level spells the deeper you go into the dungeon. Wizard NPCs sell spellbooks as well. Finally, level 0 spells are special in that they cost no mana, and so can be cast every turn. If you want to play as a spellcaster, level 0 spells are super handy until you build up your spell repertoire
To cast a spell, either click on the button with ‘c’, or press ‘c’ on the keyboard. The following screen with all your learned spells appears.

From this screen you can see all your spells, and you can search the list and filter based on level. When you have selected the spell you want, click “Cast” and the following appears:

Here you can select the power level using the slider, and as you adjust the slider you will see the mana cost, the amount of damage spell will do, and changes to the saving throw the monster will have to make. The information displayed:
Caster Level Required: what level you need to be to cast this spell
Creature Save: the basic save needed, adjusted by your proficiency bonus and the power level of the spell (which sets your casting level bonus)
Dice: number basic damage, adjusted by the power level of the sell
Settings: indicates spell related settings; e.g; First Level Bump: the first level at which you can access the next power level of the spell and Next Level Bump Increment is how many more levels you for each next bump in the power level you can access.
After you have selected the power level, you can either cast the spell with the Cast button, or assign this spell (at this power level) to one of the 6 Quick Cast (QC) buttons on the main display. You can also access quick cast using a function key (F1 through F6 for QC1 through QC6)
For access to the full list of Spells, use the “Full Spell List” help option.
Commands
This is the comprehensive list of commands, note that every command has both a keyboard (described below) and a mouse equivalent. There are a few other functions available via the menu.
Keyboard/Buttons
w,s,a,d: Move north, south, west, east OR
n,s,e,w: Move north, south, east, west: Go up or down stairs
TAB: skip your current turn
e: Attack selected monster (defaults to first one in the list of monsters)
a: Attacks selected monster if you are using n,s,e,w for navigationB: Show the Beastiary of all the monsters you have encountered
c: Cast a spell from your master spell book
C: Inscribe one or more of your found your spell books into the master spell book so they can be cast
E: Manage your equipped items
f: Show all active effects (e.g. potion effects, scroll effects, negative effects inflicted by a monster)
g: Get all items from ground
G: Get select items from ground
h: Drink a healing potion from inventory without costing a turn
H,?: Basic help: shows this list
i: Manage your inventory
I: Cast identify so you know what magic items capabilities are. You can cast every 60 minutes; once you know the identify spell, it will be auto-cast if the built in identify is in cooldown.
l: Look around the room; shows monsters, NPCs, loot, etc.
L: Load a saved game (not available in hardcore mode)
m: Manage your mercenaries (e.g. their equipped items, their stat points)
N: Interact with the NPC(s) in the room
o: Open a chest (note that some are locked and need a key; opening the lock consumes the key)
p: Drink a potion from your inventory
P: Spend you stat points you get for leveling up (note this can only be done from Town)
R: Rest for 8 hours; restores Health and Mana. Once you have rested, you can’t do so again for 60 minutes. Note if you aren't resting in town, a monster could interrupt your sleep!
S: Save the game (not available in hardcore mode)
t: Teleport to and from Puzzle Rooms and Town (Teleporting to Town has a 60-minute cooldown)
x: Examine your character status
y: Cast a spell from a scroll in your inventory
z: Manage the puzzle pieces you have collected. Once you have all the pieces, they interlock and once activated, will take you to a boss fight. Note that you are teleported to the fight on activation, so make sure you are ready first!
最低:
- OS: 10
- プロセッサー: AMD Ryzen™ 3 1200 / Intel® Core™ i3-3330
- メモリー: 8 GB RAM
- グラフィック: Intel(R) HD Graphics 4000
- ストレージ: 3 GB の空き容量
推奨:
- OS: 10
- プロセッサー: AMD Ryzen™ 3 1200 / Intel® Core™ i5-6500
- メモリー: 16 GB RAM
- グラフィック: Intel(R) HD Graphics 4000
- ストレージ: 3 GB の空き容量
【Windows】: 〇【Mac】: ×【Linux】: ×



 よくある質問
 おすすめリセマラ
 銅の剣
銅の剣
